Other
Free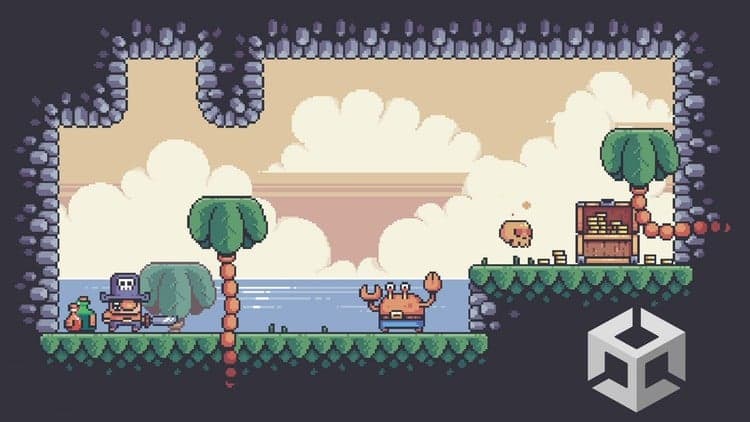 Udemy
Price
This course is free to enrol.
Enrol free on Udemy →Mark your own learning status. Opening a course link does not establish enrollment.
Loading saved status…
Cutscenes can make a game feel alive, and Unity's Timeline package is the tool for building them without writing a sequencer from scratch. This course shows how a timeline arranges animation, audio and events so a scripted moment plays exactly as you planned.
The lessons suit intermediate Unity users who already know the editor. The downloadable project lets you follow along step by step, and the course is a practical way to make a scene feel like a story rather than a set of animations.
(***NEW COURSE***)
Unity Timeline is a package that allows you to create and control cinematic sequences, cutscenes, and other types of scripted events in your Unity projects. It provides a timeline-based interface where you can arrange and manipulate different animation tracks, audio, and other elements to create complex sequences.
With Unity Timeline, you can create dynamic camera movements, trigger animations, control particle effects, synchronize audio, and perform other actions to craft compelling cutscenes and scripted events. It offers a flexible and intuitive way to design and organize interactive narratives within your Unity projects.
In the first example, we will learn how to set up Timeline, how to create different types of tracks (Animation, Activation, Sound, Signal...), and how to organize the timeline using Track Groups. We also explore animation extrapolation and learn about Timeline Events (Signals)
In the second example, we will use the Cinemachine package and different cameras to create a dynamic cutscene. We also see how to activate the cutscene by entering the Activation area
Trust me, creating cutscenes is not as complicated as you think. It's much easier. You can download the whole Unity project and start following the course right away.
Remember, cutscenes will make your games feel more alive and fun.
Advertisement
No Korshub reviews yet.