Skillshare
SubscriptionAnimating With Character - Rigging
4.6(36)7k studentsINTERMEDIATE
Access
Skillshare membershipIncluded with a Skillshare subscription
This course is included with a Skillshare membership subscription.
Start your free month on Skillshare →30-day free trial, new members only.
Already a Skillshare member? Open the class
No coupon right now. We'll tell you when there is one.
Taught by Jake Bartlett — Motion Designer
Mark your own learning status. Opening a course link does not establish enrollment.
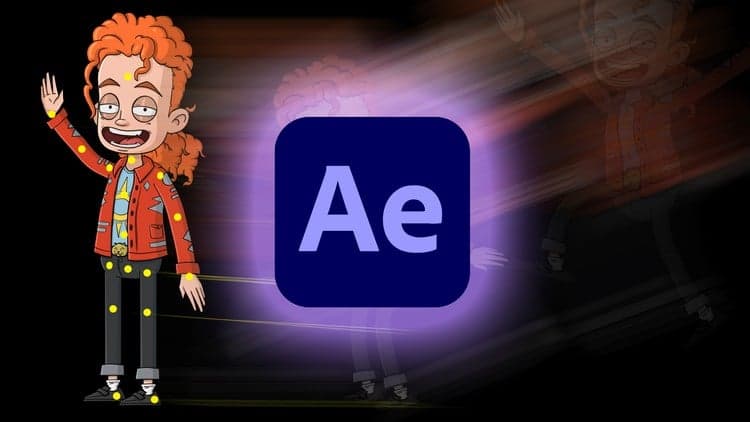
Part 1 of this 3-part series tackles the setup work that makes character animation possible. Rigging determines how your designed character will move, and this class covers complexity tiers, design requirements, the free DUIK plugin, and the puppet tool in After Effects. You'll learn to place pins, parent limbs, and create the control structures that let you animate naturally. Whether your character comes from Illustrator, Photoshop, or hand-drawn sources, the techniques remain consistent—the foundation for every animation that follows.
In part 1 of this 3 part series, I'll show you how to design and rig a character for animation in After Effects! Rigging is the setup process of your artwork that streamlines the animating workflow. You'll learn everything you need to get up and running with character animation.
The great thing about this technique is that it isn't limited to any design style. You could create a flat vector character in Illustrator, or a hand illustrated and textured character in Photoshop. If you can design it, I'll show you how to animate it.
______________
Class Outline
Advertisement
Animating With Ease in Adobe After Effects (V1)